Our DIY Wheelbarrow and Sled 2-in-1 - End of Three Fitness PDFs


The Best Strategy To Use For DIY Wooden Home Address Wheelbarrow
If you've cut and assembled everything properly, there will be a 3-1/2-in. cavity at the back of package to accommodate the tool rack. If it's a little bigger or smaller, no big deal. Set up the wheels, Photo 4: Set up the wheel assembly, Install a washer, a wheel, another washer and a locknut on one end of the threaded rod.

Install the cart axle braces and cover. Turn Need More Info? down. Secure the bottom braces (E). Protect the middle bottom brace so the center of it is exactly 20-3/4 in. far from the back of the back bottom brace (E). If you don't get this positioned right, it will impact the balance of the cart.
Transfer that measurement to the other end of the rod and mark the rod. Cut the rod and install the other wheel assembly. Idea: Prior to cutting the rod to length, twist a routine nut onto it beyond the cut mark. After making the cut, twist the nut off; it will "recut" any broken threads so the locknut will go on much easier.
How to Build a Kid's Wheelbarrow - how-tos - DIY
screws. Lastly, set up the axle cover (G). Note: If you want to reinforce the wheel assembly for transporting much heavier loads, utilize oak for the middle bottom brace, two cart axle braces and cover. Set up the legs, manages and tool rack, Photo 5: Install the legs, Use 2 beads of building adhesive, secure the legs into place and secure them with screws.
The smart Trick of DIY Electric Wheelbarrow - Garden Guides That Nobody is Talking About
Photo 6: Reinforce the corners, Cut aluminum angle stock to length, then drill holes and countersink "dimples" for the screw heads. Install the corner braces utilizing building and construction adhesive and screws. Image 7: Install the handle bar, Protect the manage bar by driving screws through each manage into completion of the rail.

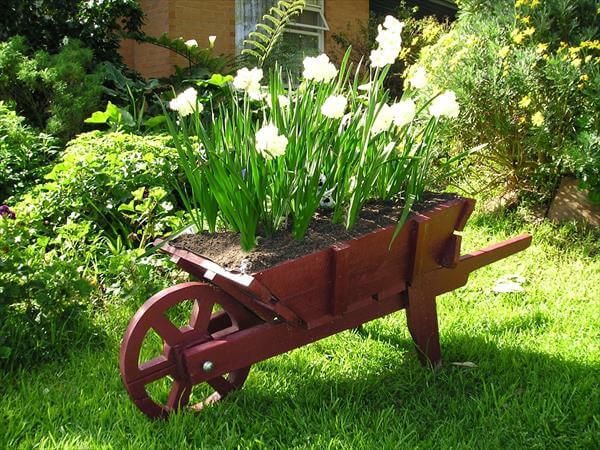
DIY Wheelbarrow Planter Ideas - Balcony Decoration & Eco-Friendly Garden Ideas
Picture 8: Include a tool rack, Cut three tool rack slats and drill holes for tool handles. Adjust the size and spacing of the holes to suit your tools. Usage adhesive and screws to set up the slats. Cut the legs and screw them to the extending sides (Image 5). Use the spacer block as shown so the legs can accommodate the upper tool rack slat.